
Get started with the Desktop App
A native template gallery and project launcher for macOS and Windows — the route in if you would rather not start at a terminal.
The Desktop App is the shortest path from “I want to try this” to a running app. It browses the template gallery, sets a project up locally, and hands it to your editor — where a coding agent takes it the rest of the way, including the deploy.
That last part is the bit worth reading twice. You are not expected to learn the CLI first. The agent runs it, and the app hands the agent everything it needs to know.
Install
Download: https://download.dibbla.com/api/download/dmg

Open the .dmg and drag Dibbla to Applications.
Download: https://download.dibbla.com/api/download/exe
Run the installer.The app identifies itself as “Dibbla Beta” and is on an early-access track. Expect it to update itself more often than the CLI does.
Sign in
Sign-in is the same Google or Microsoft account you use for the platform — the app opens your browser for it and picks the session back up. There is no separate password, and nothing to configure afterwards.
If it ever shows the sign-in screen again unprompted, that is a lapsed session rather than a problem; signing in again is all it needs.
What it looks like
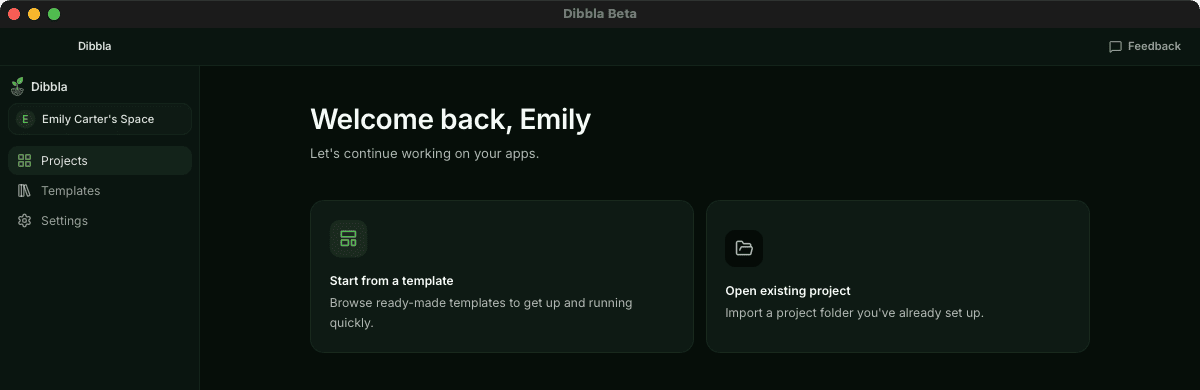
The app opens on your projects, with the two things you can do from here and whatever you were working on last:
Start a project
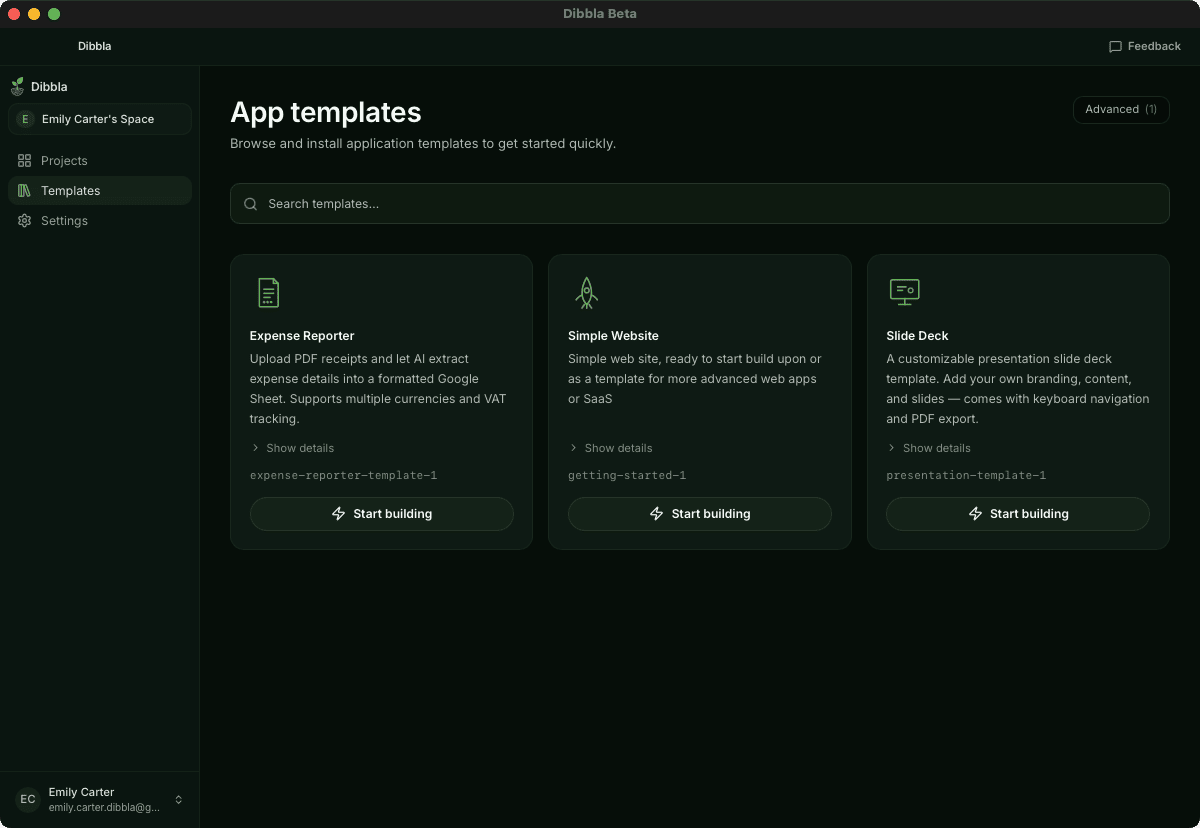
The gallery lists the same templates as dibbla template list. Three are
shown; the Advanced toggle in the corner reveals the rest.
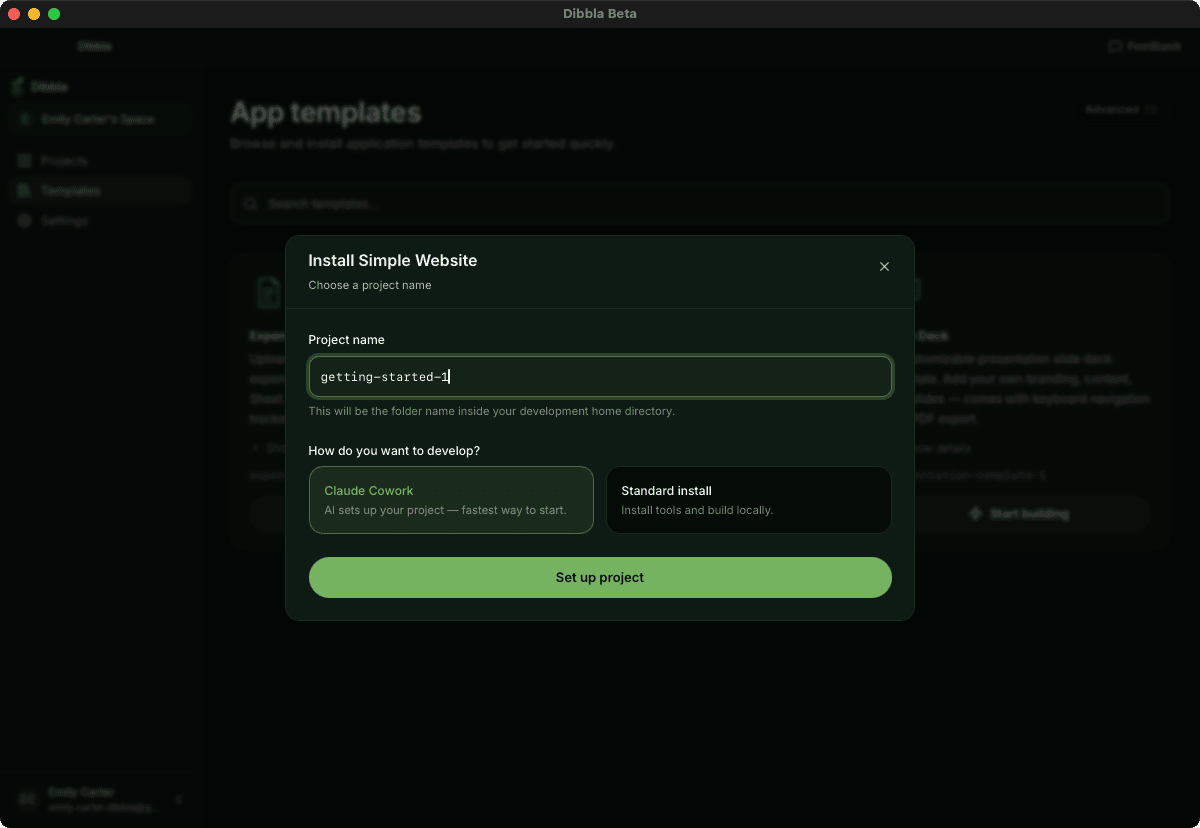
Start building asks for a project name and then for the thing this page is really about — who does the work:
Claude Cowork, or a standard install
The choice matters more than the wording suggests, and Claude Cowork is preselected:
| Claude Cowork | Standard install | |
|---|---|---|
| Where the work happens | a cloud agent environment | your machine |
| What you end up with | a deployed app and a URL | a project folder |
| What you do | describe changes; the agent runs the CLI | open it in your editor and take it from there |
Picking Claude Cowork hands the agent a script that ships with the template: install the CLI, install the Dibbla skill, run the template’s setup, then deploy and report the URL back. You do not type a command at any point.
The first of those steps is the one that used to be fragile. Cowork runs in a
cloud sandbox that cannot reach GitHub, so an installer that pulled the binary
from GitHub Releases failed there. Dibbla now serves the CLI from
install.dibbla.com directly, so that step works — see
Where the download comes from.
Picking Standard install scaffolds the project locally instead. From there
you have a normal project directory — a Dockerfile, a CLAUDE.md describing
the codebase, a SPEC.md, and your code — and Open in editor hands it to
the editor where your own coding agent picks it up.
The rest of this page covers that second path, because it is the one where you need to know what the agent should do.
The last thing the template setup does is try to open a browser. On a
machine without one it fails — Step "Open in browser" failed with exit code 3 — after everything else has succeeded. The project is fine. Setup also
leaves a dev server or two running; stop them when you are done with them.
No template contains REVIEW.md or docs/index.md, and the platform
refuses to deploy without both. (expense-reporter is the one exception:
it ships an APP.md, which satisfies the handbook half.) That is deliberate
— these files describe your app, and nothing generic could. Creating them
is the first real work in the project, and it is work a coding agent does
well.
Let the agent take it from here
The deploy is the agent’s job, not yours. Ask for it in the editor the template opened:
The setup already installed the dibbla skill. Read .claude/skills/dibbla/SKILL.md, then guardrails.md and user-docs.md, before doing anything else.
Then get this project deployable and deploy it:
- Work through the pre-deploy checklist in the skill’s guardrails, and fix what it turns up. Expect findings in the template’s own code — you did not write it, and it has not been reviewed for your use.
- Add
.envto.dockerignoreand.dibblaignore. The setup wrote a live platform token there and the file is packaged with the project. The two files cover different things —.dockerignorekeeps it out of the image,.dibblaignorekeeps it out of the managed repository — so it needs to be in both. Neither controls what the platform strips from the build context; if the template’sDockerfilecopies a vendored or pre-built directory, regenerate it in the build instead. - Write
docs/index.md— a short handbook for the people who will use this app, not for developers. It needs YAML frontmatter with asubtitle:under 140 bytes; that one line is what colleagues read in the app catalogue. - Write
REVIEW.mdrecording what the checklist actually found and what you fixed. Do not invent a clean result. - Deploy it with a commit message describing the change, and tell me the URL. Treat this as my explicit confirmation for the guardrails’ deploy step, which otherwise stops to ask.
Steps 3 and 4 are not good practice, they are the gate: dibbla deploy
refuses to upload anything without a handbook and a REVIEW.md, and it
rejects a subtitle that is missing, over 140 bytes, or still placeholder text.
Deploy your first app explains what a useful REVIEW.md
contains.
Step 5 spells out the confirmation because the skill’s guardrails tell an agent never to deploy without being asked. Without that sentence a careful agent does all the work and then stops to check, which reads like the prompt failed.
The agent needs the dibbla binary on your machine to deploy anything, and
you will want it yourself for logs and secrets later.
Get started with the CLI is a two-minute detour, and the prompt
above assumes you have taken it.
Reopening later
The app remembers your recent projects, so the second session starts where the first ended. That is most of what it is for after day one.