
Author a workflow as YAML
Author a workflow as slim YAML, validate it, run it, and call it over HTTP — the whole loop in one page.
The same graph as a file. Building it in the editor is the faster way to a first workflow and the better way to understand the shape; this page is for when the workflow starts to matter to somebody other than you — because a file can be reviewed, diffed, and put in a repository, and a canvas cannot.
Both routes produce the same thing. You can build in the editor and read it
back with dibbla wf get <name> -o yaml.
1. See what functions exist
The registry is the source of truth — not the YAML schema, and not this page:
$dibbla functions list
$dibbla functions get function-server reasoning_agent_function
functions get prints a function’s description and its accepted values. Read
it before wiring a node: the model list, for instance, is an enum, and
wf validate rejects a model that is not in it — you find out before you
create anything.
The inputs and outputs in functions get are derived by looking at
workflows that already contain a node for that function. For a function
nobody has wired yet — the one you just registered, typically — the response
carries no ports at all. That is not a broken registration; there is simply
nothing to read them from yet. The description and the enum: tags are what
you get until the first workflow uses it.
2. Write it
name: incident_triage
nodes:
  - {id: api_input, type: api, inputs: [question], outputs: [question]}
  - id: reasoning_agent_function
    type: function
    function: reasoning_agent_function
    server: function-server
    inputs:
      system_message: "You are an incident triage assistant. Be brief."
      model: dibbla/claude-haiku-4-5
    outputs: [response]
  - {id: api_response, type: api_response, linked_to: api_input, inputs: [response]}
edges:
  - api_input.question -> reasoning_agent_function.prompt_message
  - reasoning_agent_function.response -> api_response.response
Three node types carry the whole model: api is the entry point, function is
work, and api_response is what the caller gets back. linked_to ties the
response node to its entry node.
Node ids collapse to the function name when the workflow is created — refer to a node by its function name, not by a custom id you invented.
Only wire outputs the registry actually declares. Adding a plausible
error output that the function does not have produces
preflight: malformed source handle, and the run then hangs instead of
failing — a confusing pair of symptoms for one typo.
3. Validate, create, run
$dibbla wf validate -f incident_triage.yaml
valid: true

$dibbla wf create -f incident_triage.yaml

# --follow tails the logs and prints the result
$dibbla wf execute incident_triage --follow --data '{"question":"A Tier 1 service is flapping — what severity?"}'
Use --follow on the first execution after any change. A workflow that fails
silently looks identical to one that is merely slow, and the follow output is
where the difference shows up.
4. Call it from anything
Once it exists it has an HTTP endpoint:
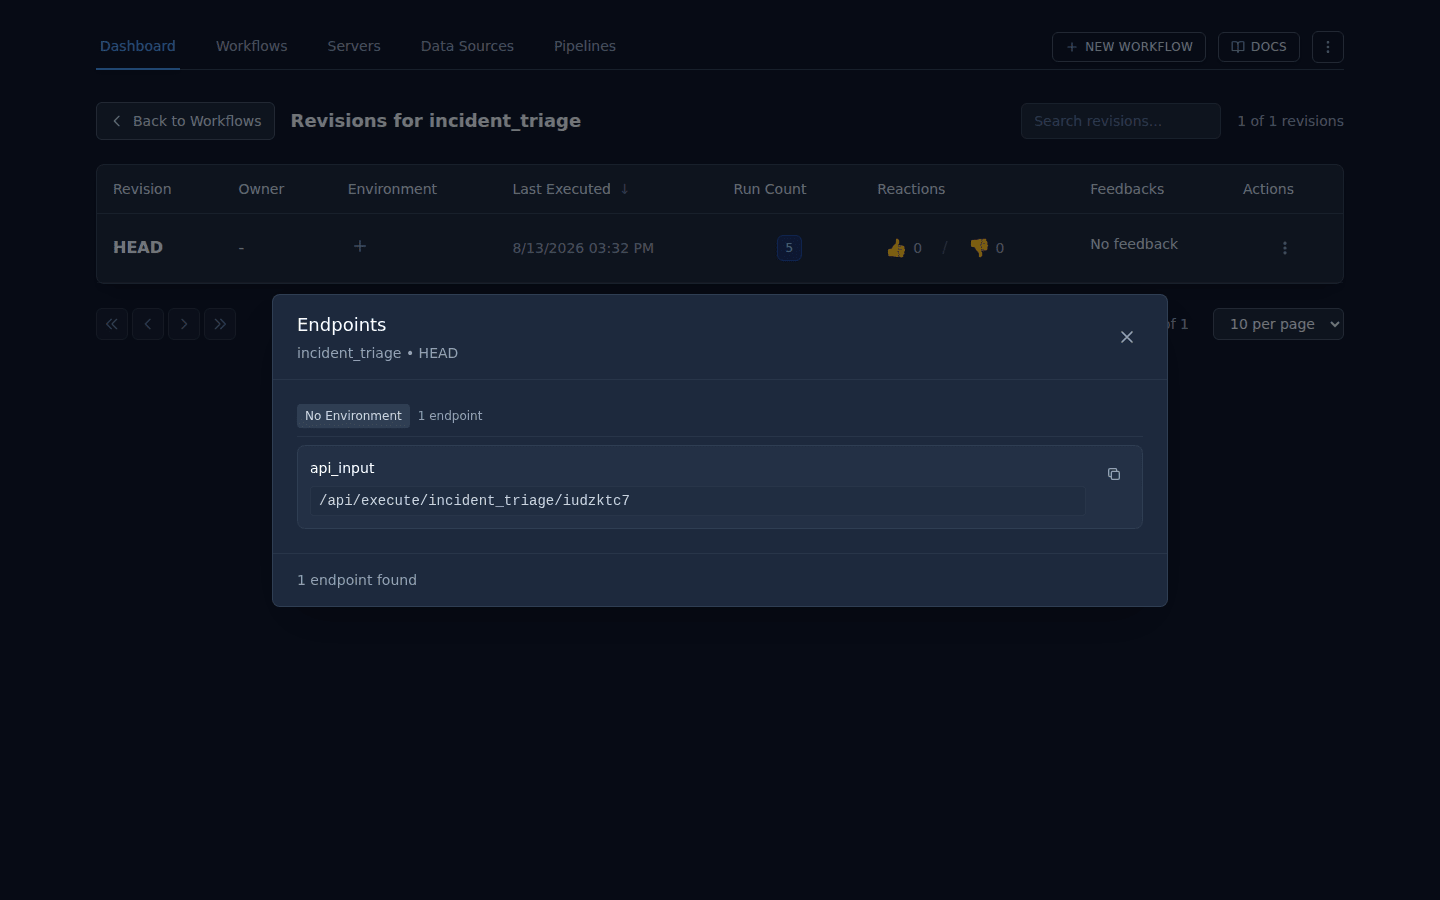
$dibbla wf api-docs incident_triage

# call it through the gateway, not the internal host
$curl -X POST https://api.dibbla.com/api/wf/execute/incident_triage/<urlid> -H "Authorization: Bearer ak_..." -H 'Content-Type: application/json' -d '{"question":"..."}'
wf api-docs prints a ready-to-use public URL on app.dibbla.com — not an
internal address, so you can hand it straight to a caller. The <urlid> at
the end can change if you rename or restructure the entry node, so re-check
it after an update rather than baking it into a build.